
Key Subway Tile Bathroom Design Elements
Subway Tile can reshape the look and perceived value of a bathroom when it is applied to the surfaces a homeowner would actually renovate. The strongest designs show where the material belongs, how it meets humidity, splashes, grout cleaning, privacy, and spa-like lighting, and how it coordinates with the room's existing function.
How to Use Subway Tile in a Bathroom
Choose the natural surface
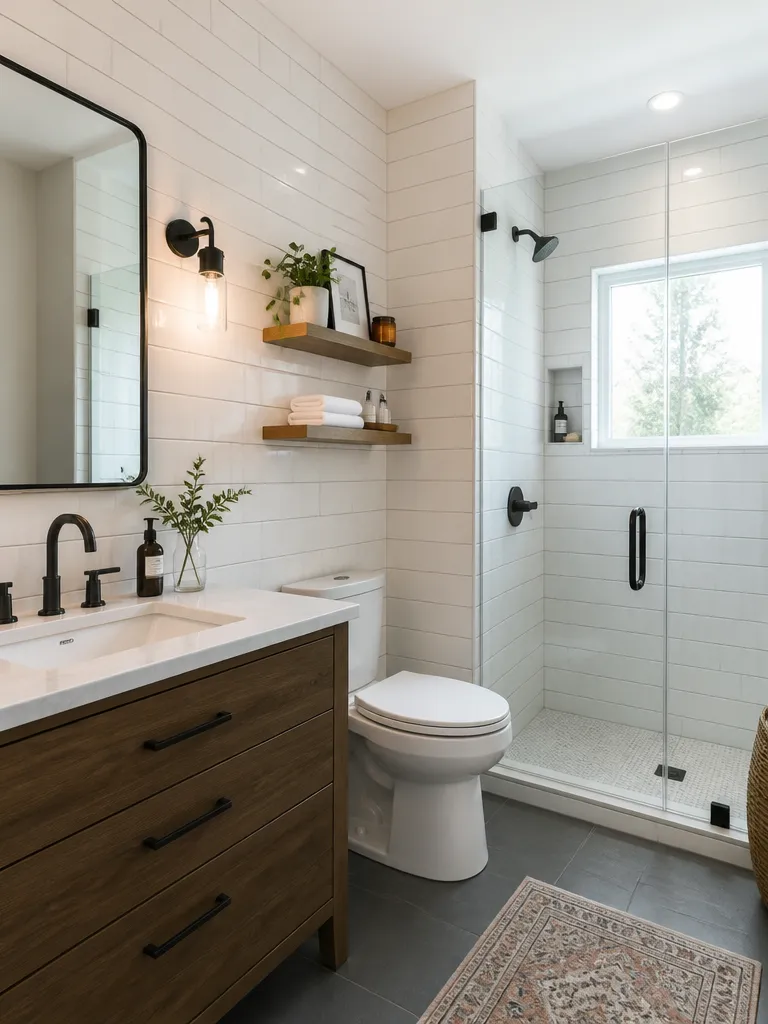
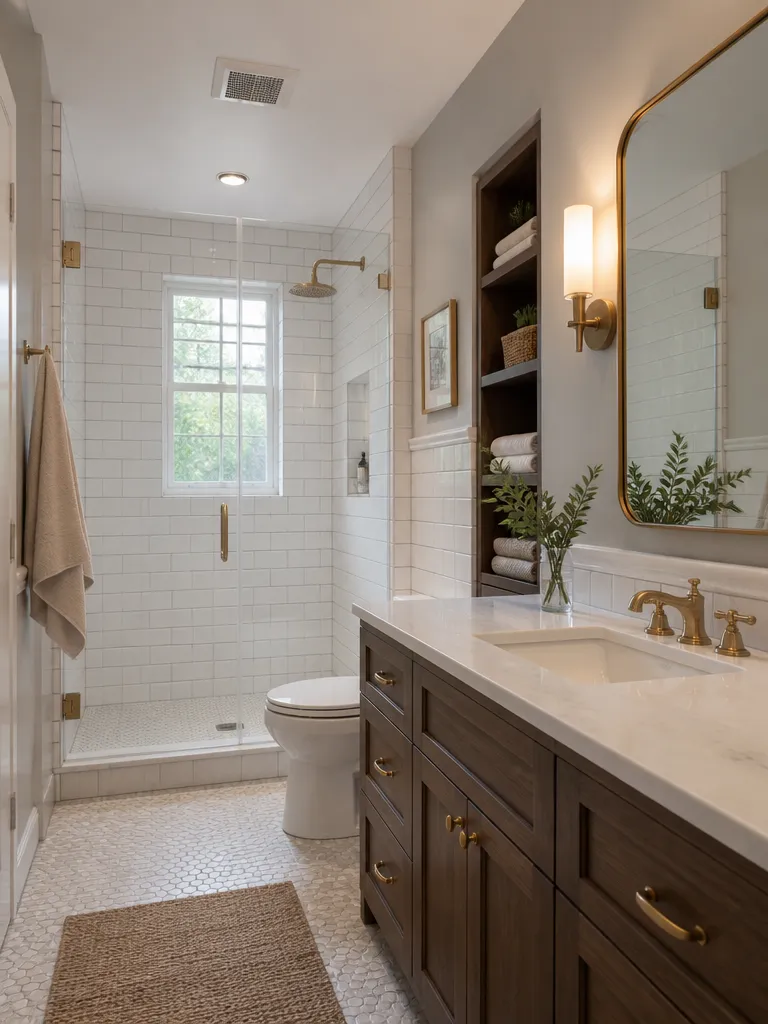
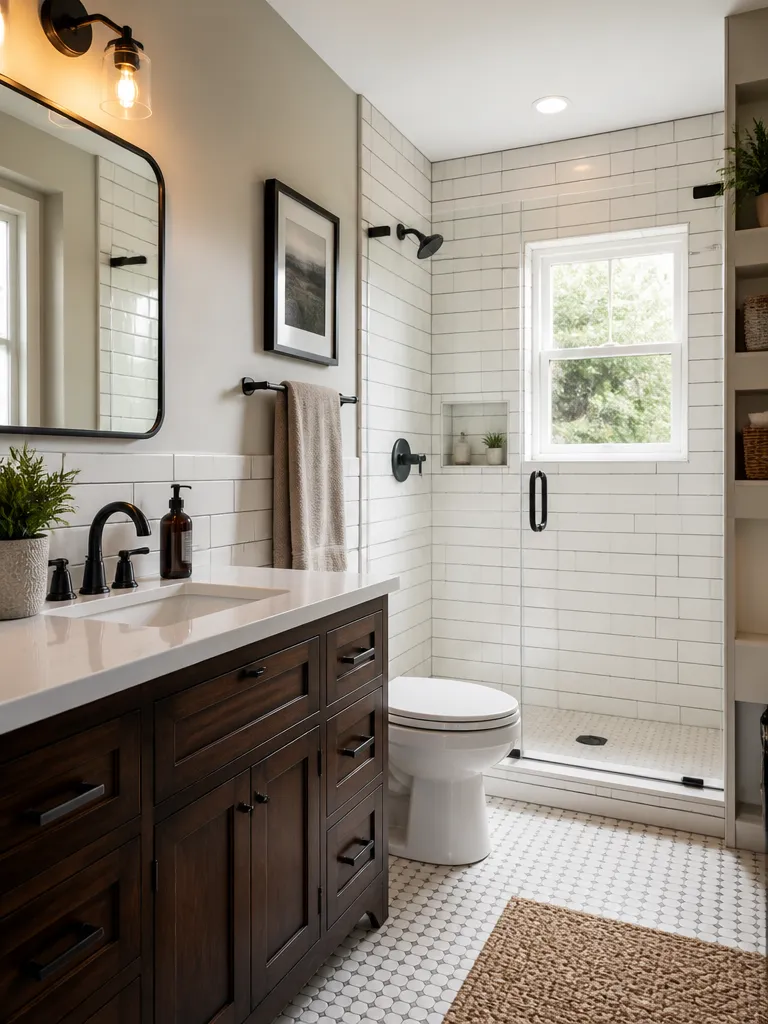
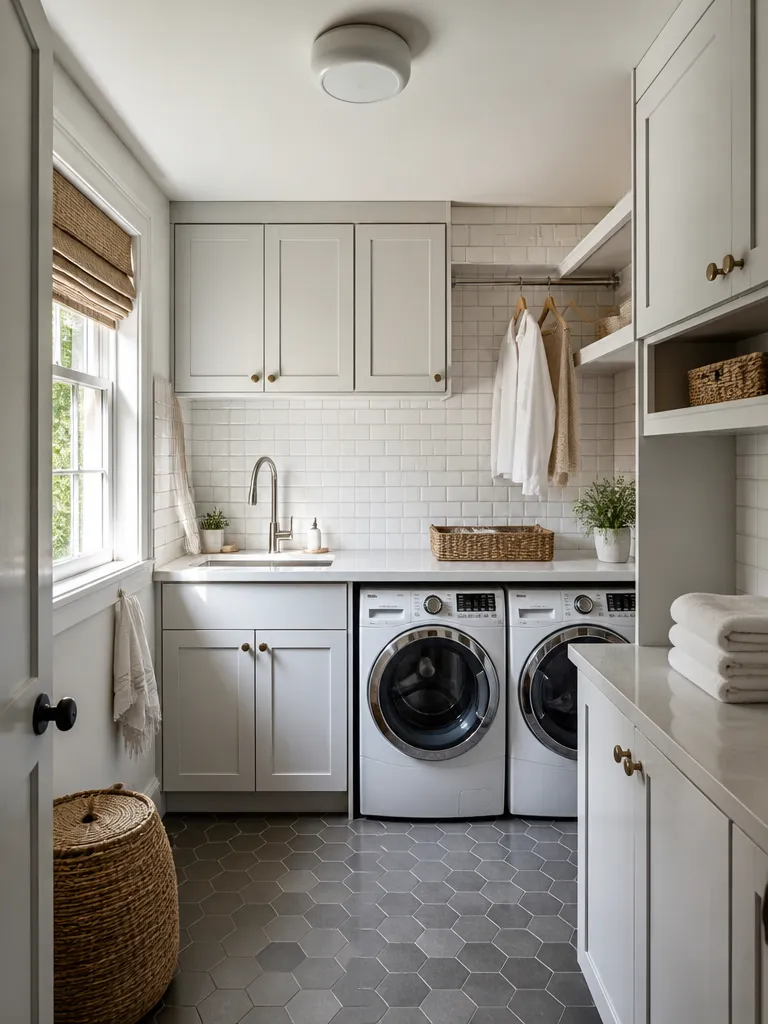
Apply subway tile where it would normally be installed in a bathroom, especially around vanities, showers, tubs, wet walls, mirrors, and storage niches.
Install it believably
Set the tile pattern, grout width, edge trim, niche placement, and wet-area waterproofing details before finalizing the look.
Plan for upkeep
Consider grout cleaning, slip resistance, water exposure, and whether a glossy or matte finish fits the room.
Let the material lead
Use simpler furniture, hardware, and decor so the subway tile finish stays visible without overpowering Vanity, Toilet, and Shower or tub.
Keep one clear camera view
The image should feel like a single finished bathroom, with realistic scale, edges, seams, and natural light.
Subway Tile Bathroom Inspiration
Subway Tile is useful for interior design, renovation planning, and real estate visualization because it gives buyers and homeowners a concrete finish to react to. In a bathroom, the goal is to make the material feel installed, not pasted on: the surface should have believable seams, edges, scale, lighting, and a clear relationship to Vanity, Toilet, Shower or tub, Mirror. For content planning, this page works best when the images and copy answer the practical question behind the search: whether subway tile is a convincing choice for this exact room.
Subway Tile Bathroom Budget Guide
Visual Refresh
$500-2,500Small subway tile accents, partial surfaces, samples, or DIY-friendly updates that test the finish before a larger bathroom renovation.
Renovation Upgrade
$2,500-12,000Professional installation across the main bathroom surfaces, including layout decisions, edge details, lighting coordination, and finish pairings.
Premium Finish
$12,000+Custom detailing, premium material selection, and full-room coordination with lighting, fixtures, cabinetry, furniture, and adjacent finishes.
Frequently Asked Questions
Ready to Design Your Subway Tile Bathroom?
Use our AI-powered design tool to visualize your perfect bathroom in subway tile style. Upload a photo and see instant transformations.
Transform Your Space →